

05 - Rust, Rust, Rust
It was clear to me right from the start that a car from 1995 would have rust spots. And whilst searching for the right base vehicle, I'd seen cars where the paintwork was the only thing holding them together. With many of them, it was obvious at first glance that I wouldn't be able to avoid a major trip to the garage. New panels would have had to be welded in, which would have meant a complete repaint.
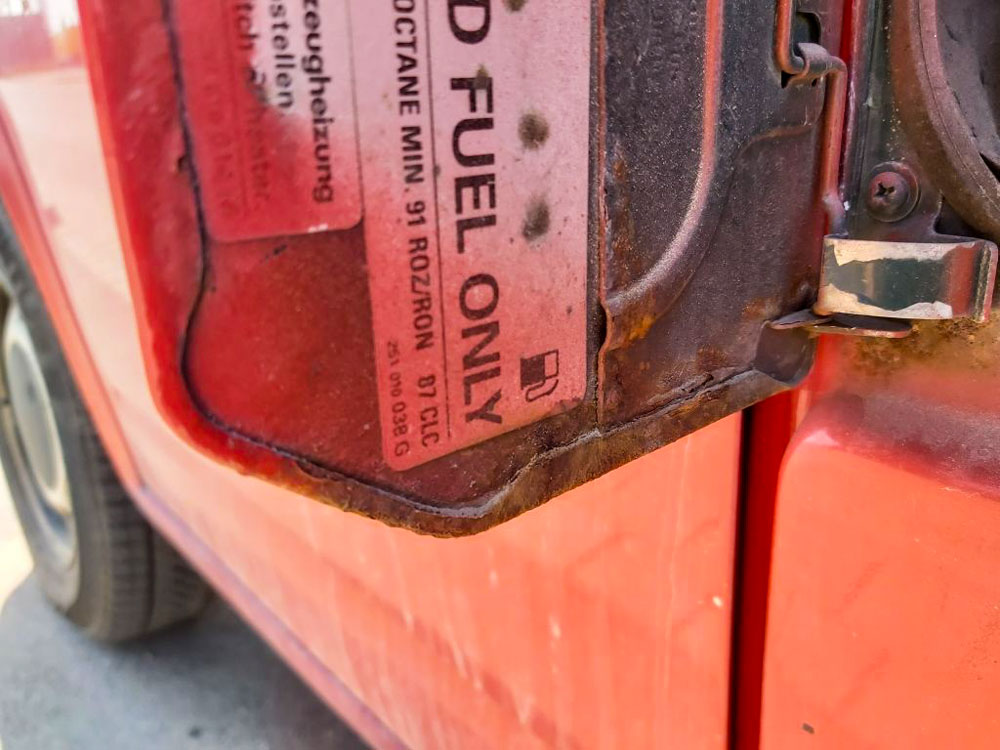
My new Bulli had rust spots too. The seller didn't even try to hide them. But they were just small, insignificant spots and I was sure I could easily touch them up. As I wasn't concerned with a perfect exterior - it'll get scratches over time anyway - any spots touched up later can certainly be visible.
I was therefore aware that I would likely come across further rust under the floor covering and behind the panelling. As there was nothing visible on the outside, however, I feared I wouldn't find anything too serious.
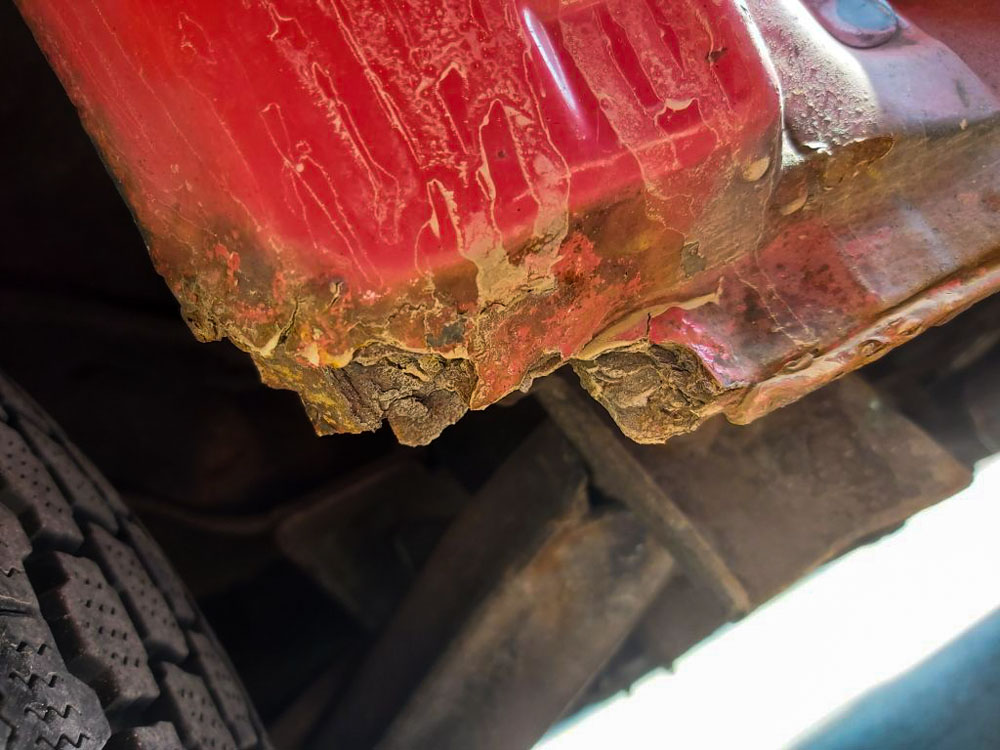
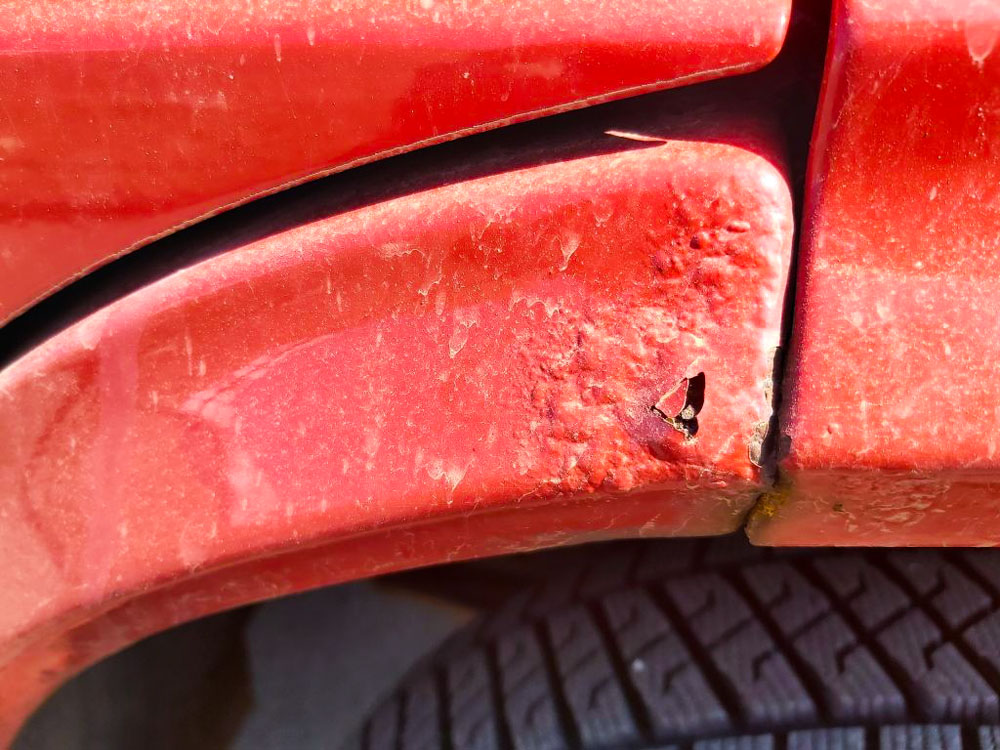
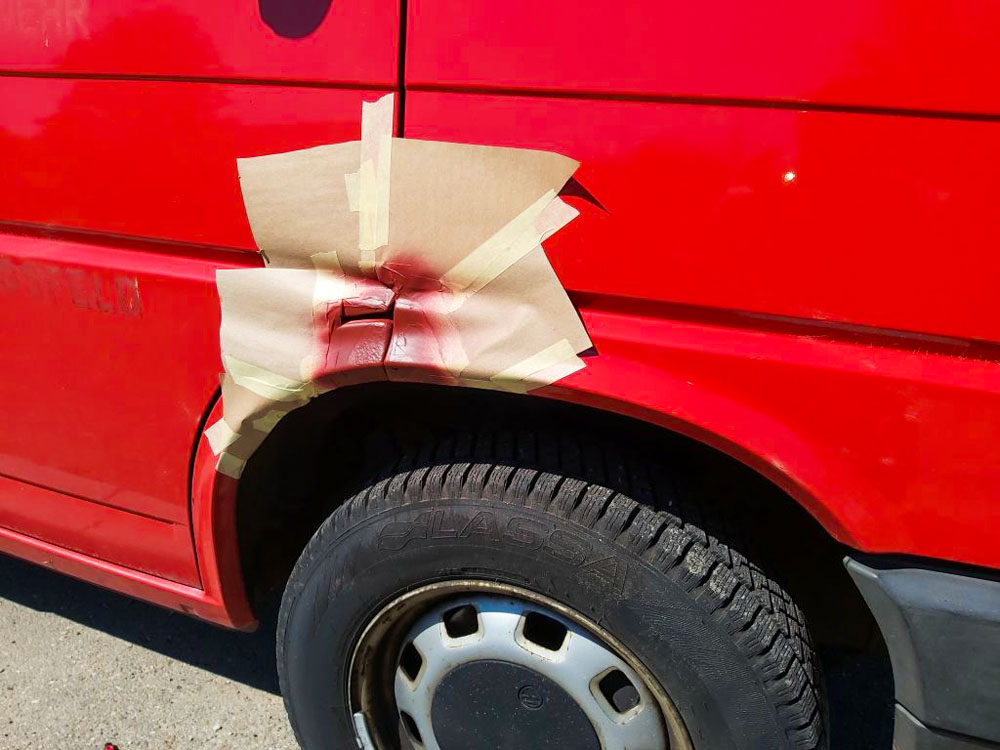
When removing the seats, I could only detect rust on the screws, and even once the floor covering was off, there appeared to be only superficial rust. It was only on both wheel arches that I discovered paint peeling. As this was present on both sides and the area didn't sound like bare metal, I assumed I could simply remove the peeling paint and then repaint it. I suspected that screw heads had been covered for protection and later painted over. But when I tried to carefully remove the loose bits, I suddenly saw the road surface and the tyre. Oh my God! It seems the metal had already rusted through here and the areas had been sealed and re-profiled with a putty knife or something similar.

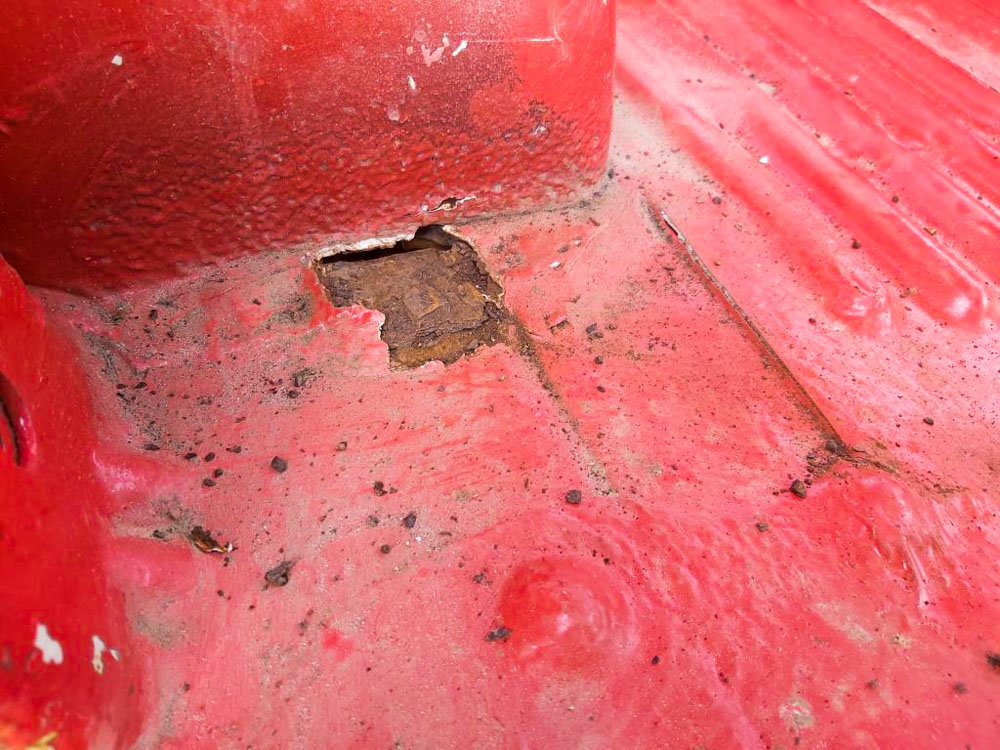
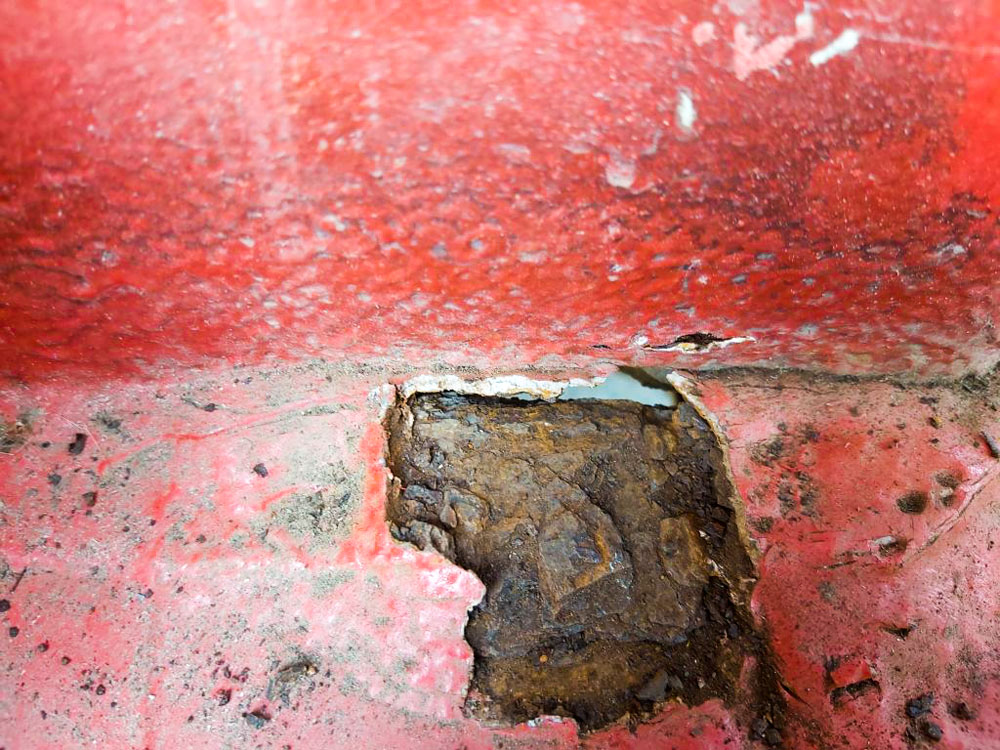
This was one of those days when I started to doubt the whole project. How bad are these spots? Are there more of them? How on earth am I supposed to repair this? I felt confident about sanding and painting, but here new panels would have to be welded in. I don't have a welding machine, nor can I weld. So there was nothing I could do. I had to take it to a garage. Rust damage of this kind should be repaired by a professional. That's the only way to ensure the rust is completely removed and the bodywork is stable again. Fortunately, I found a garage that didn't charge me an arm and a leg straight away.
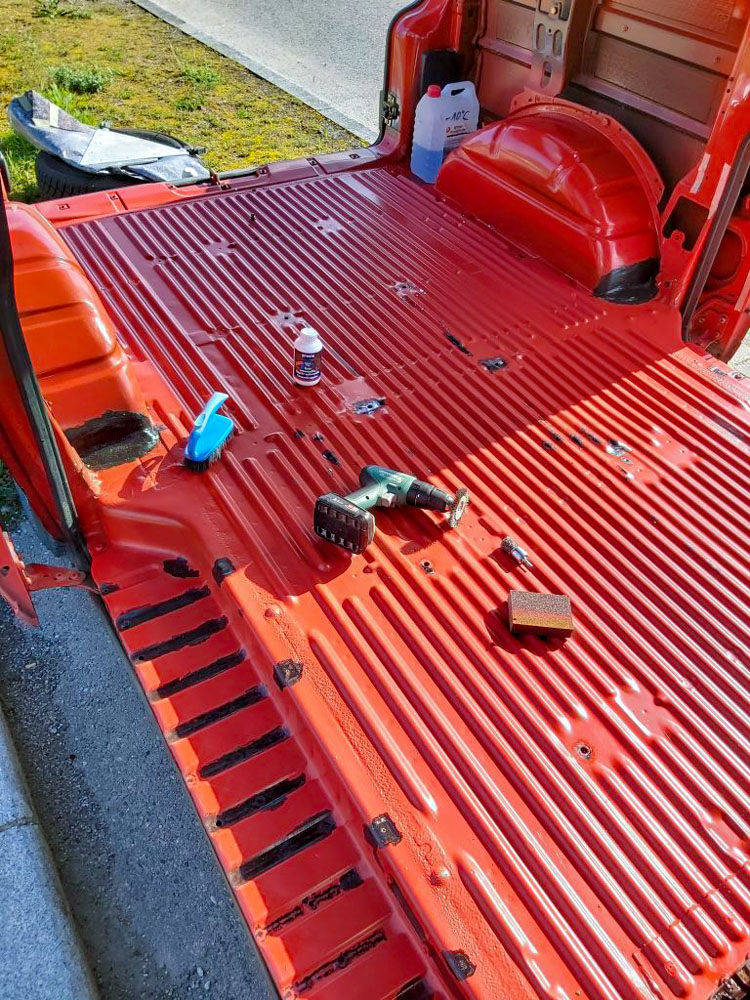
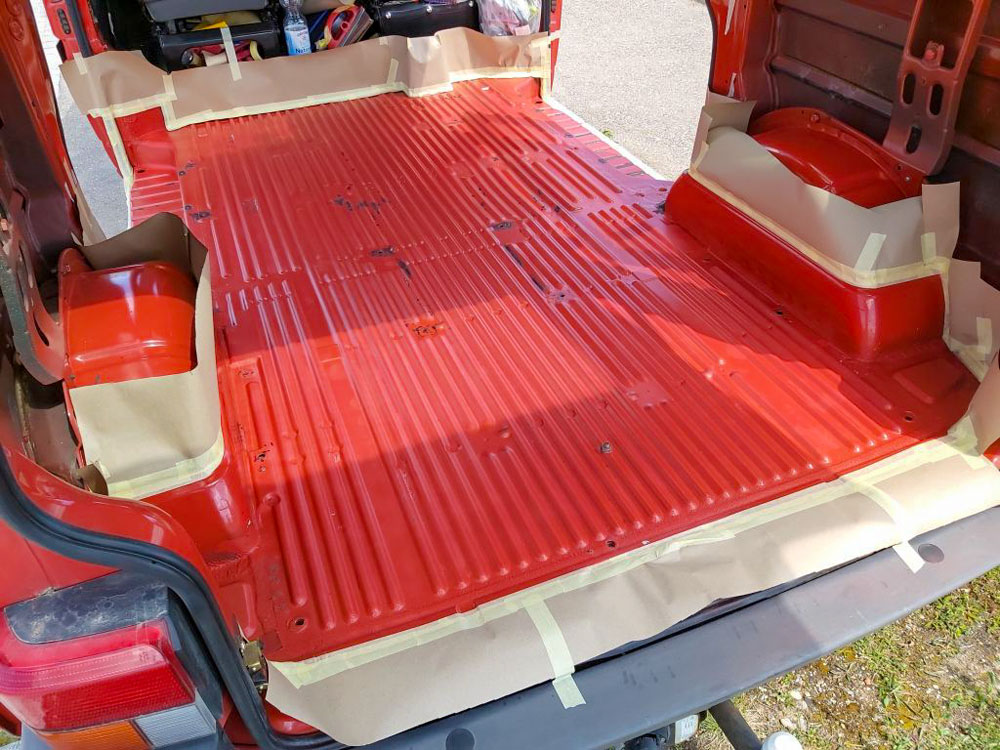
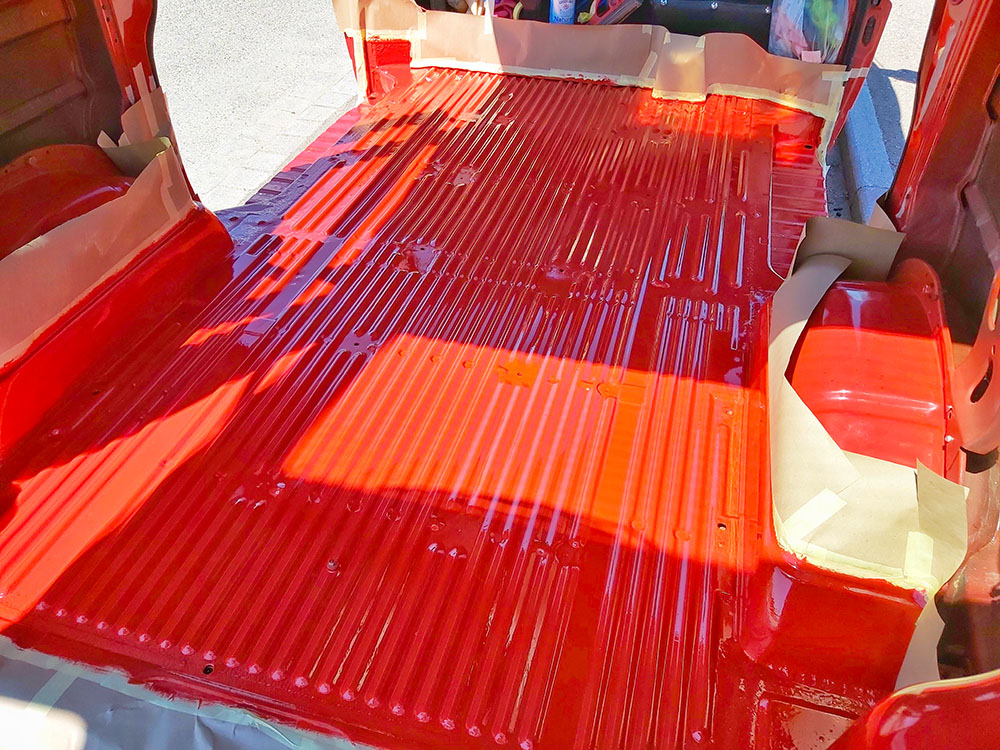
Once the holes had been properly repaired, I could tackle the remaining rust. Apart from the floor, I couldn't spot any rust, so it should be enough to treat just the floor with rust inhibitor. First, I cleaned the entire floor to make it easier to identify the rust spots. I was able to remove the surface rust easily with a sanding sponge. I tackled the rougher patches with a wire brush attachment for the drill. Once all the rust spots were nice and bare, I applied a rust converter as a precaution. To prepare for painting, the floor now had to be completely roughened up, i.e. sanded down. Due to the shape of the floor, this was only possible by hand using a sanding sponge. So, down on my knees and sand, sand, sand. After about two hours, my arms were numb and the floor was finally sanded. But now the sanding dust had to be completely removed. First, the floor was swept and then thoroughly cleaned with water and a sponge. Finally, the last bit of grease was removed with a silicone remover. Now all that remained was to mask off the area, then the first coat of paint could be applied. I had to use a brush for this too, as it was impossible with a roller. On the third day, and after a second coat of paint, the job was done. The floor shone with a new lustre and all the rust spots were protected from further rust.
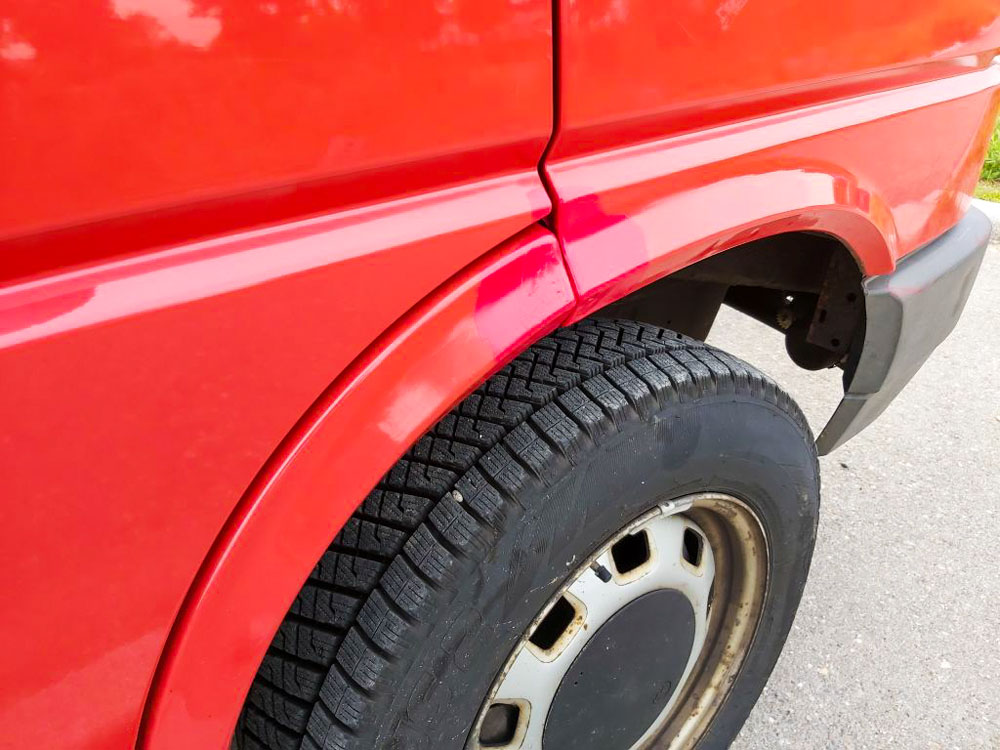
Whilst the paint was drying, I took the opportunity to tackle one of the rust spots on the exterior. After discovering the rust inside, I had a bad feeling about it, but it had to be done. However, when I removed the rust with the wire brush attachment, I immediately came across bare metal. So the damage was manageable. A coat of anti-rust paint should prevent new rust. This was followed by a spray filler to even out the worst unevenness. Then came thin layers of paint and clear coat, and the area was touched up to my satisfaction.
I reckon that's not half bad. After this little adventure, I was convinced of the project once again. Next, the new paintwork in the interior needed protecting. So now it was time to fit the floor.
Comments
Write a comment
Your email address will of course not be published.