

04 - Gutting the Car
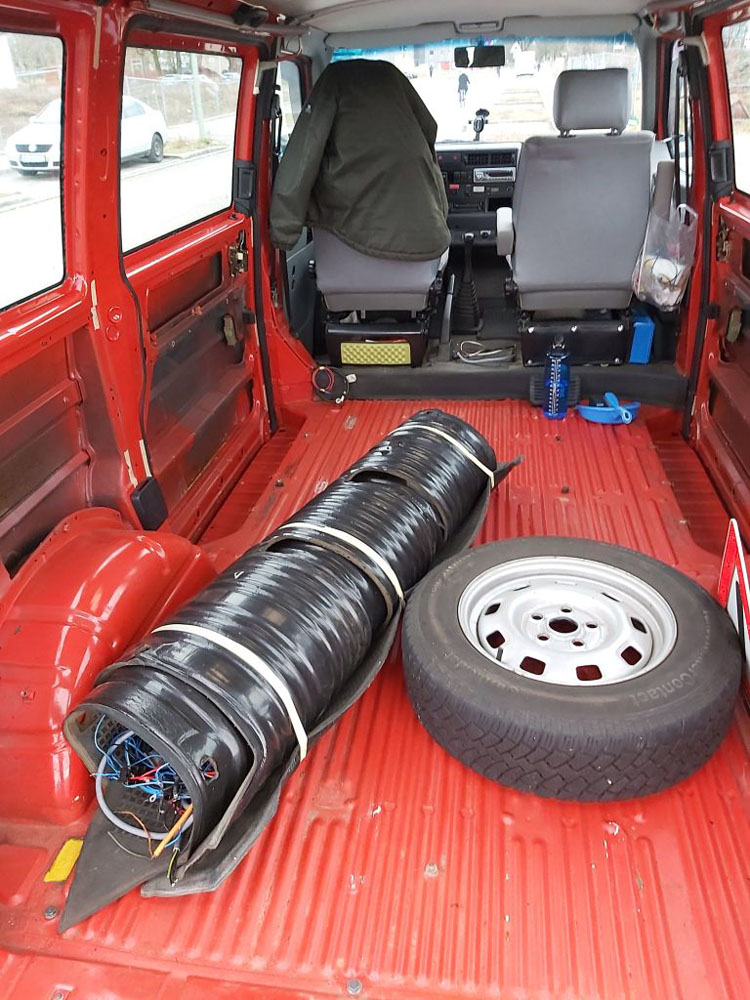
The car was there, so we could finally get started on the conversion. Well, let's put the brakes on for a moment. Because before the conversion comes the demolition, or rather, the gutting. The vehicle has to be stripped back to its bare shell.
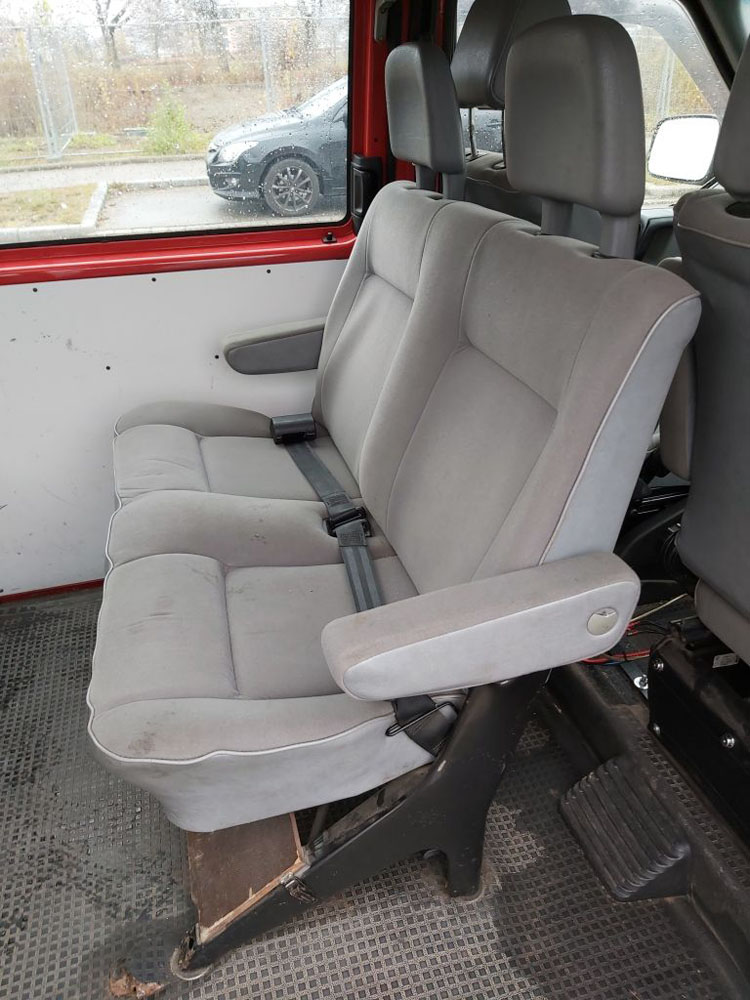
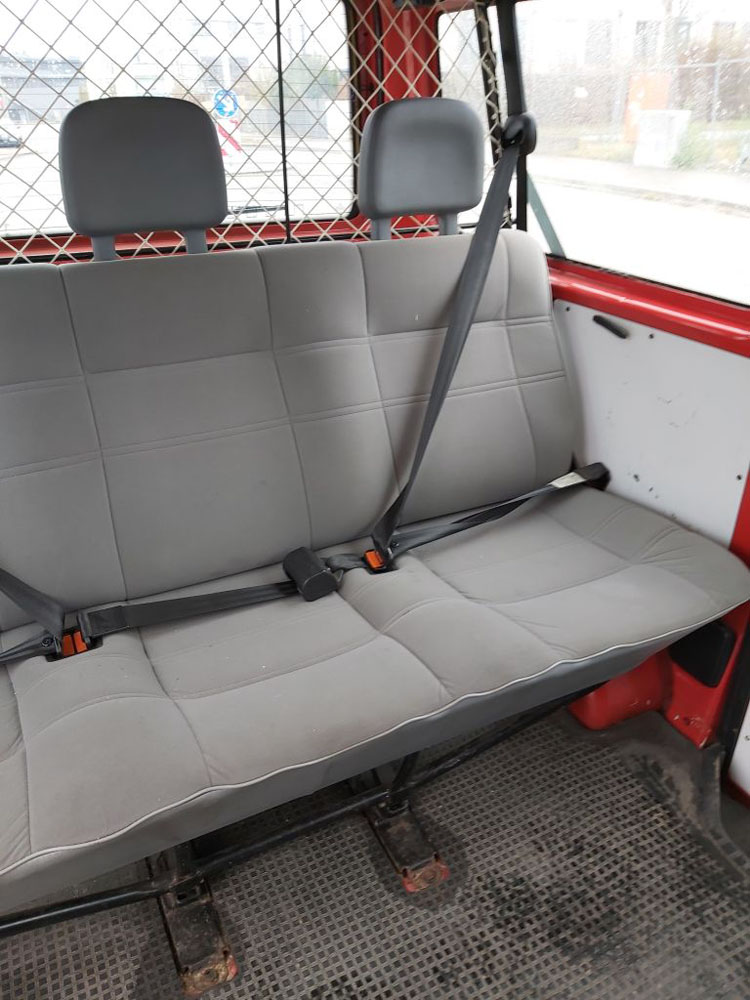
As well as the rear seats and the shelf in the boot, the side panels and the floor covering had to go. I left the driver's area untouched for the time being, so that the car remained roadworthy. Once the seats and floor covering had been removed, countless cables appeared. What are they for? Are they still needed? As there were unfortunately no labels, all I could do was search.
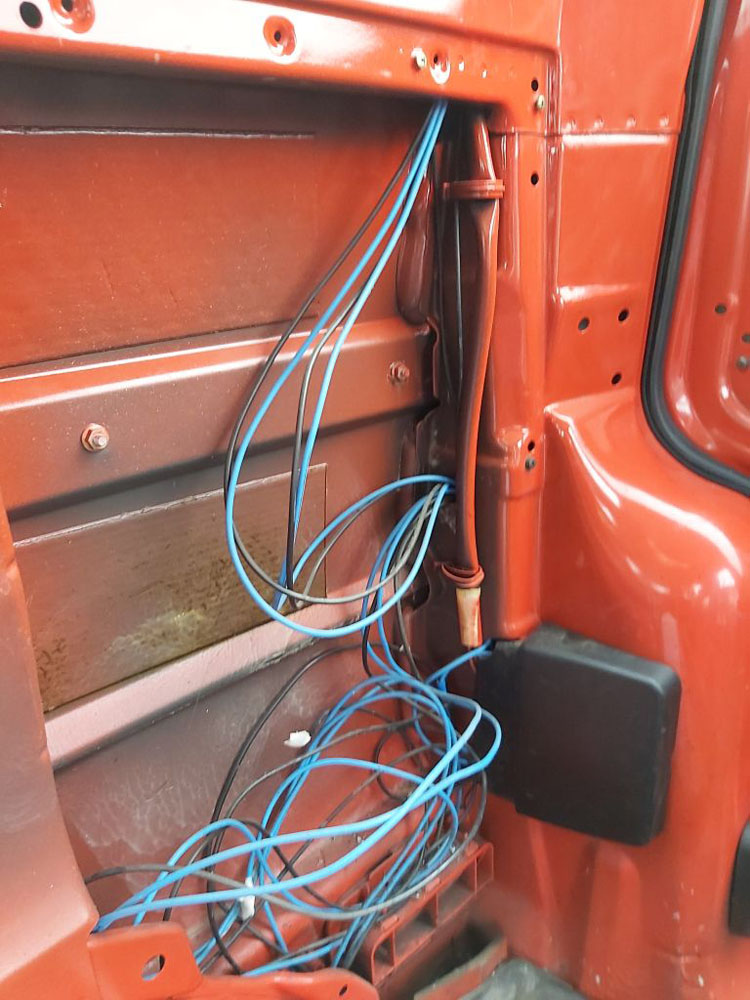
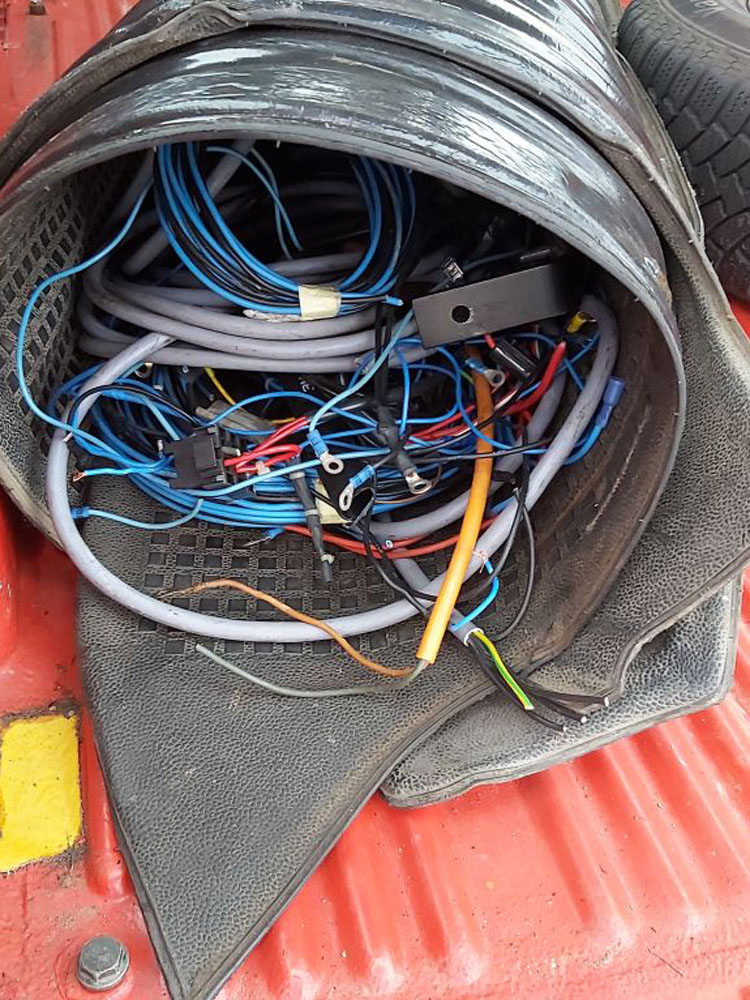
Many of the cables ended under the driver's seat, where there was an auxiliary battery. Apparently, this had previously been used to power the technical equipment, as the other ends of the cables were hanging in the air behind the trim. Without further ado, I got out the side cutters and off went the pesky cables. Others were less straightforward. I had to search a bit longer for those.
Once the headliner was finally down, I could identify the last few cables and remove the ones I didn't need. Only one cable worried me. I couldn't determine its origin with certainty. I suspected it belonged to the rear window heater. However, it was connected to the auxiliary battery and there was no switch for it to be found anywhere. Well, that's what happens when you don't buy new parts. So, for the time being, it remained insulated and coiled up in the rear.
Along with the cables, the auxiliary battery was also removed straight away. With only 50 Ah and, moreover, being
an AGM battery, it is unsuitable for my plans. I had my heart set on a lithium iron phosphate battery - LiFePO4
for short - with at least 200 Ah. The useless speakers in the rear, the radio equipment and the wiring for the
special signalling system were also removed.
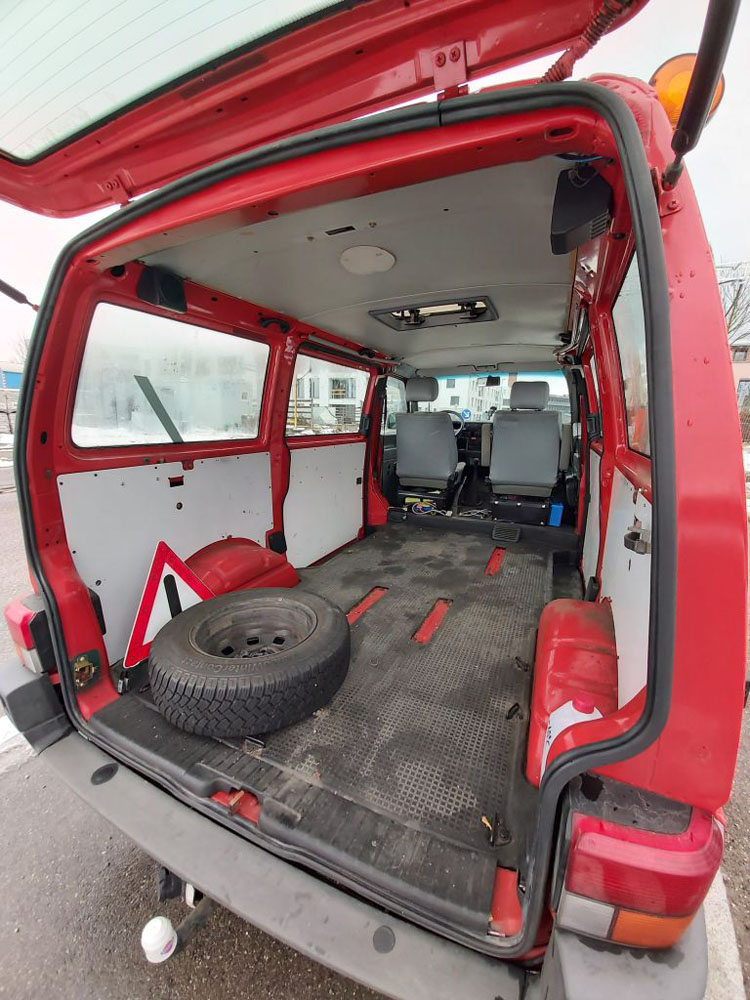
The cables and small parts were disposed of straight away. The floor covering and the panelling were set aside for
the time being. They were to serve later as templates for the floor panels and the new panelling.
Now that the gutting was complete, measurements could finally be taken. It was finally clear which fixed fittings needed to be taken into account. And the layout was already taking shape in my mind: bed, cupboard, kitchen - everything had to fit in. Power supply and a toilet were also essential. The hob and a cool box had to go somewhere. A sink would be nice. So measure, measure, measure! How wide are the sliding doors? How much space is there between the wheel arches? And how high is the interior, anyway?
Unfortunately, the gutting wasn't just the start of the conversion. It was also the start of the doubts. But more on that in the next post.
Comments
Write a comment
Your email address will of course not be published.